
Welcome to Intune Kitchen
Picnic all the time,
gourmet occasionally
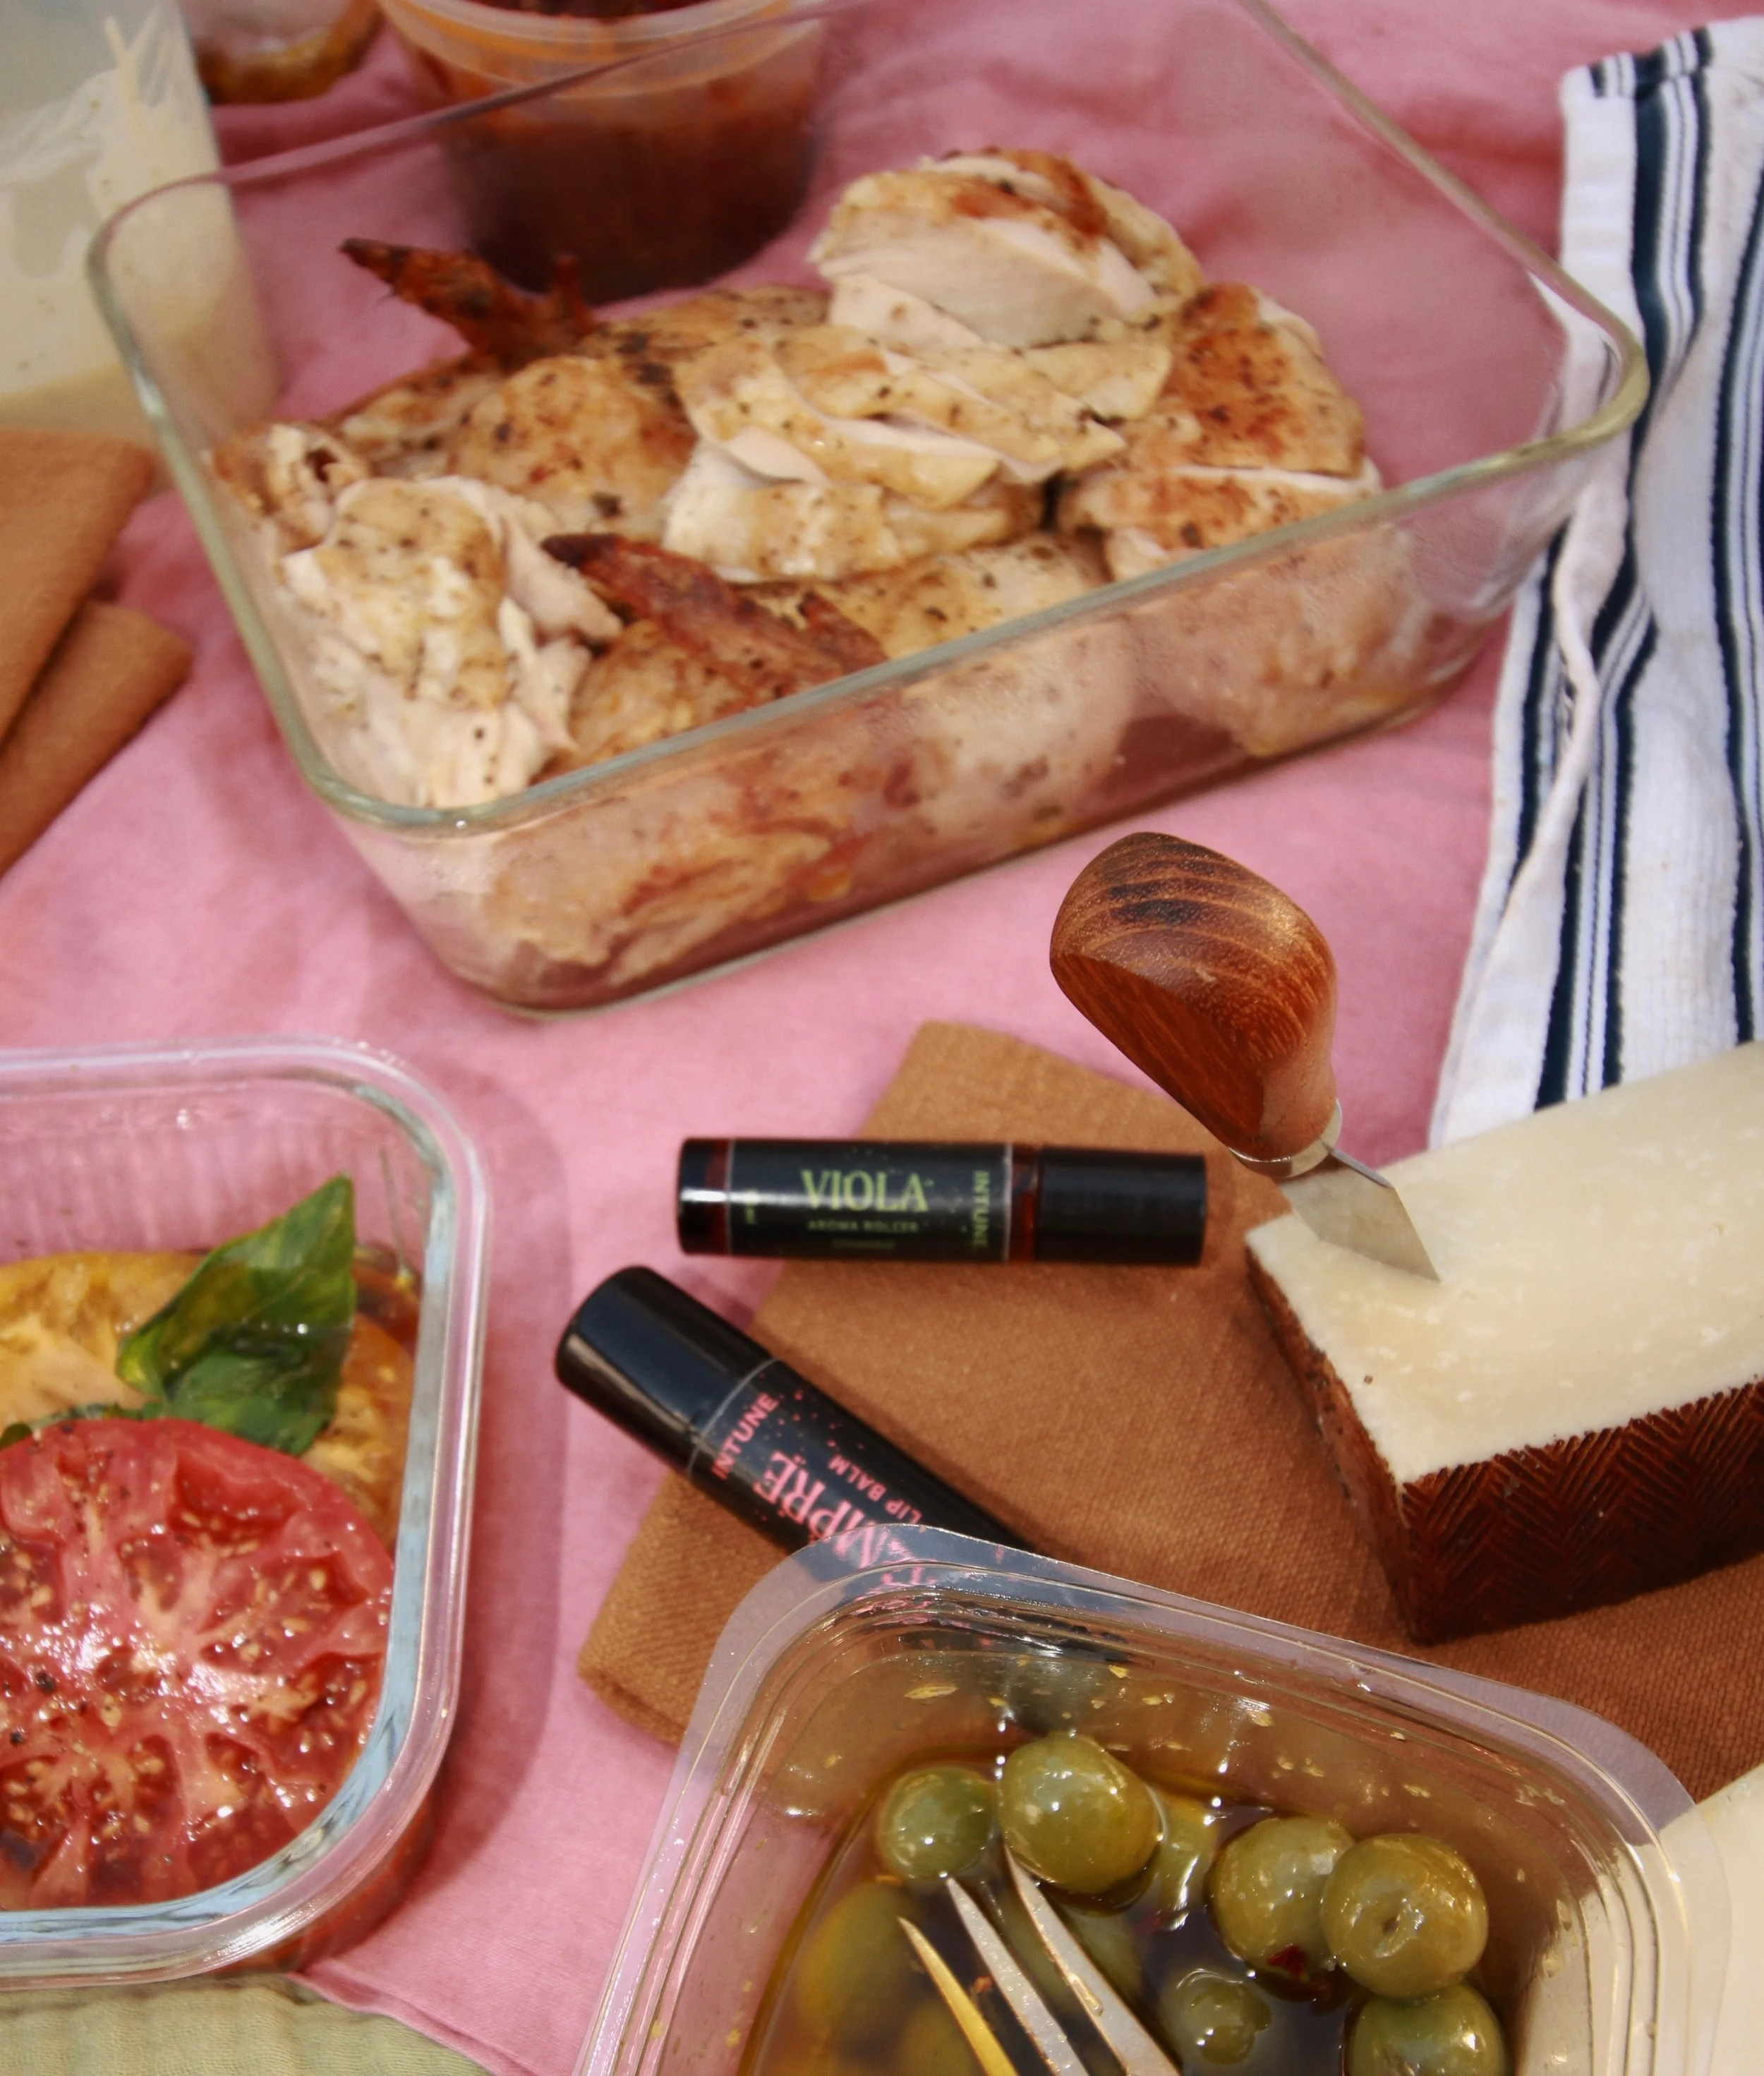
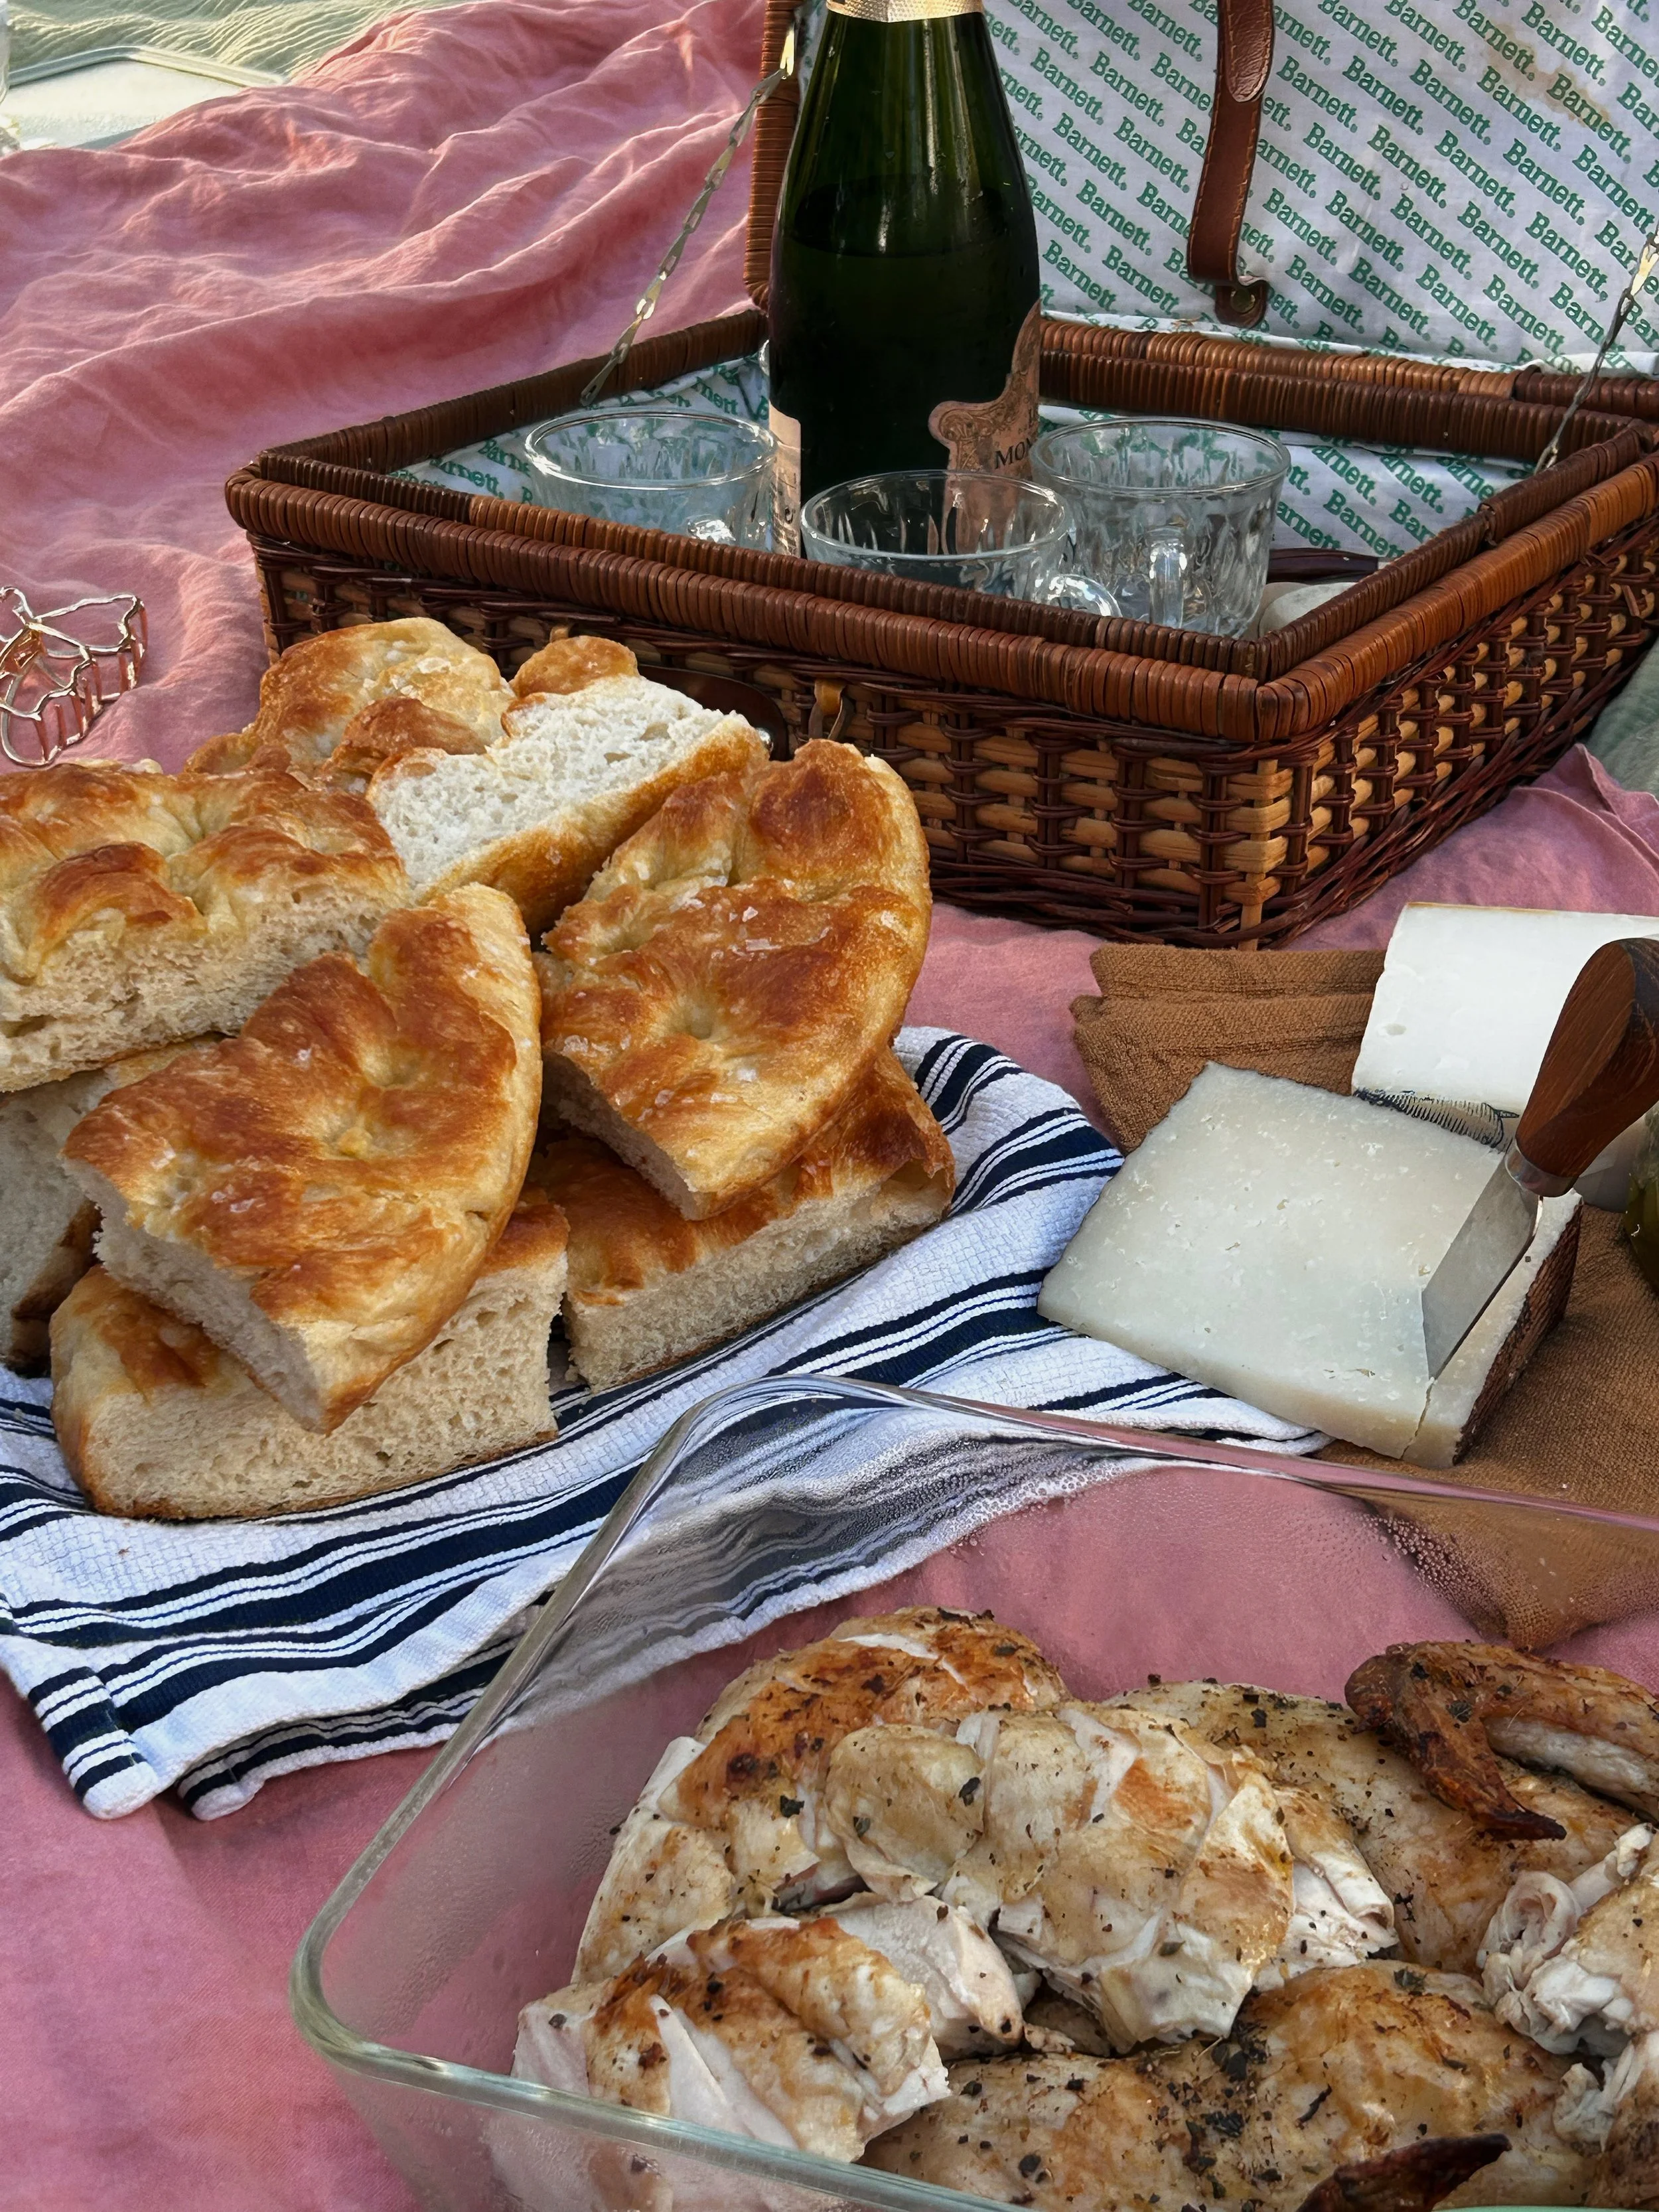
I love a picnic because you can literally wrap up a couple apples and some crackers with cheese and you’ve got a solid set up. It’s less about the food and more about the romance of it all. That being said, eating really good roasted chicken with your hands straight out of the Tupperware while you lounge in the sun is its own religious experience. The following collection of recipes is what I would consider a near perfect menu for al fresco dining with people you enjoy. Everything is meant to be eaten at room temp and the format allows for sandwich building or just grazing. Just pick up a bottle of your favorite sparkling and set a date.

Picnic
Oil Poached Salmon:
Skinless salmon filets
1 lemon
Fresh herbs (dill, thyme, or rosemary)
1-2 garlic cloves (optional)
1 ½ - 2 cups EVOO
Kosher salt
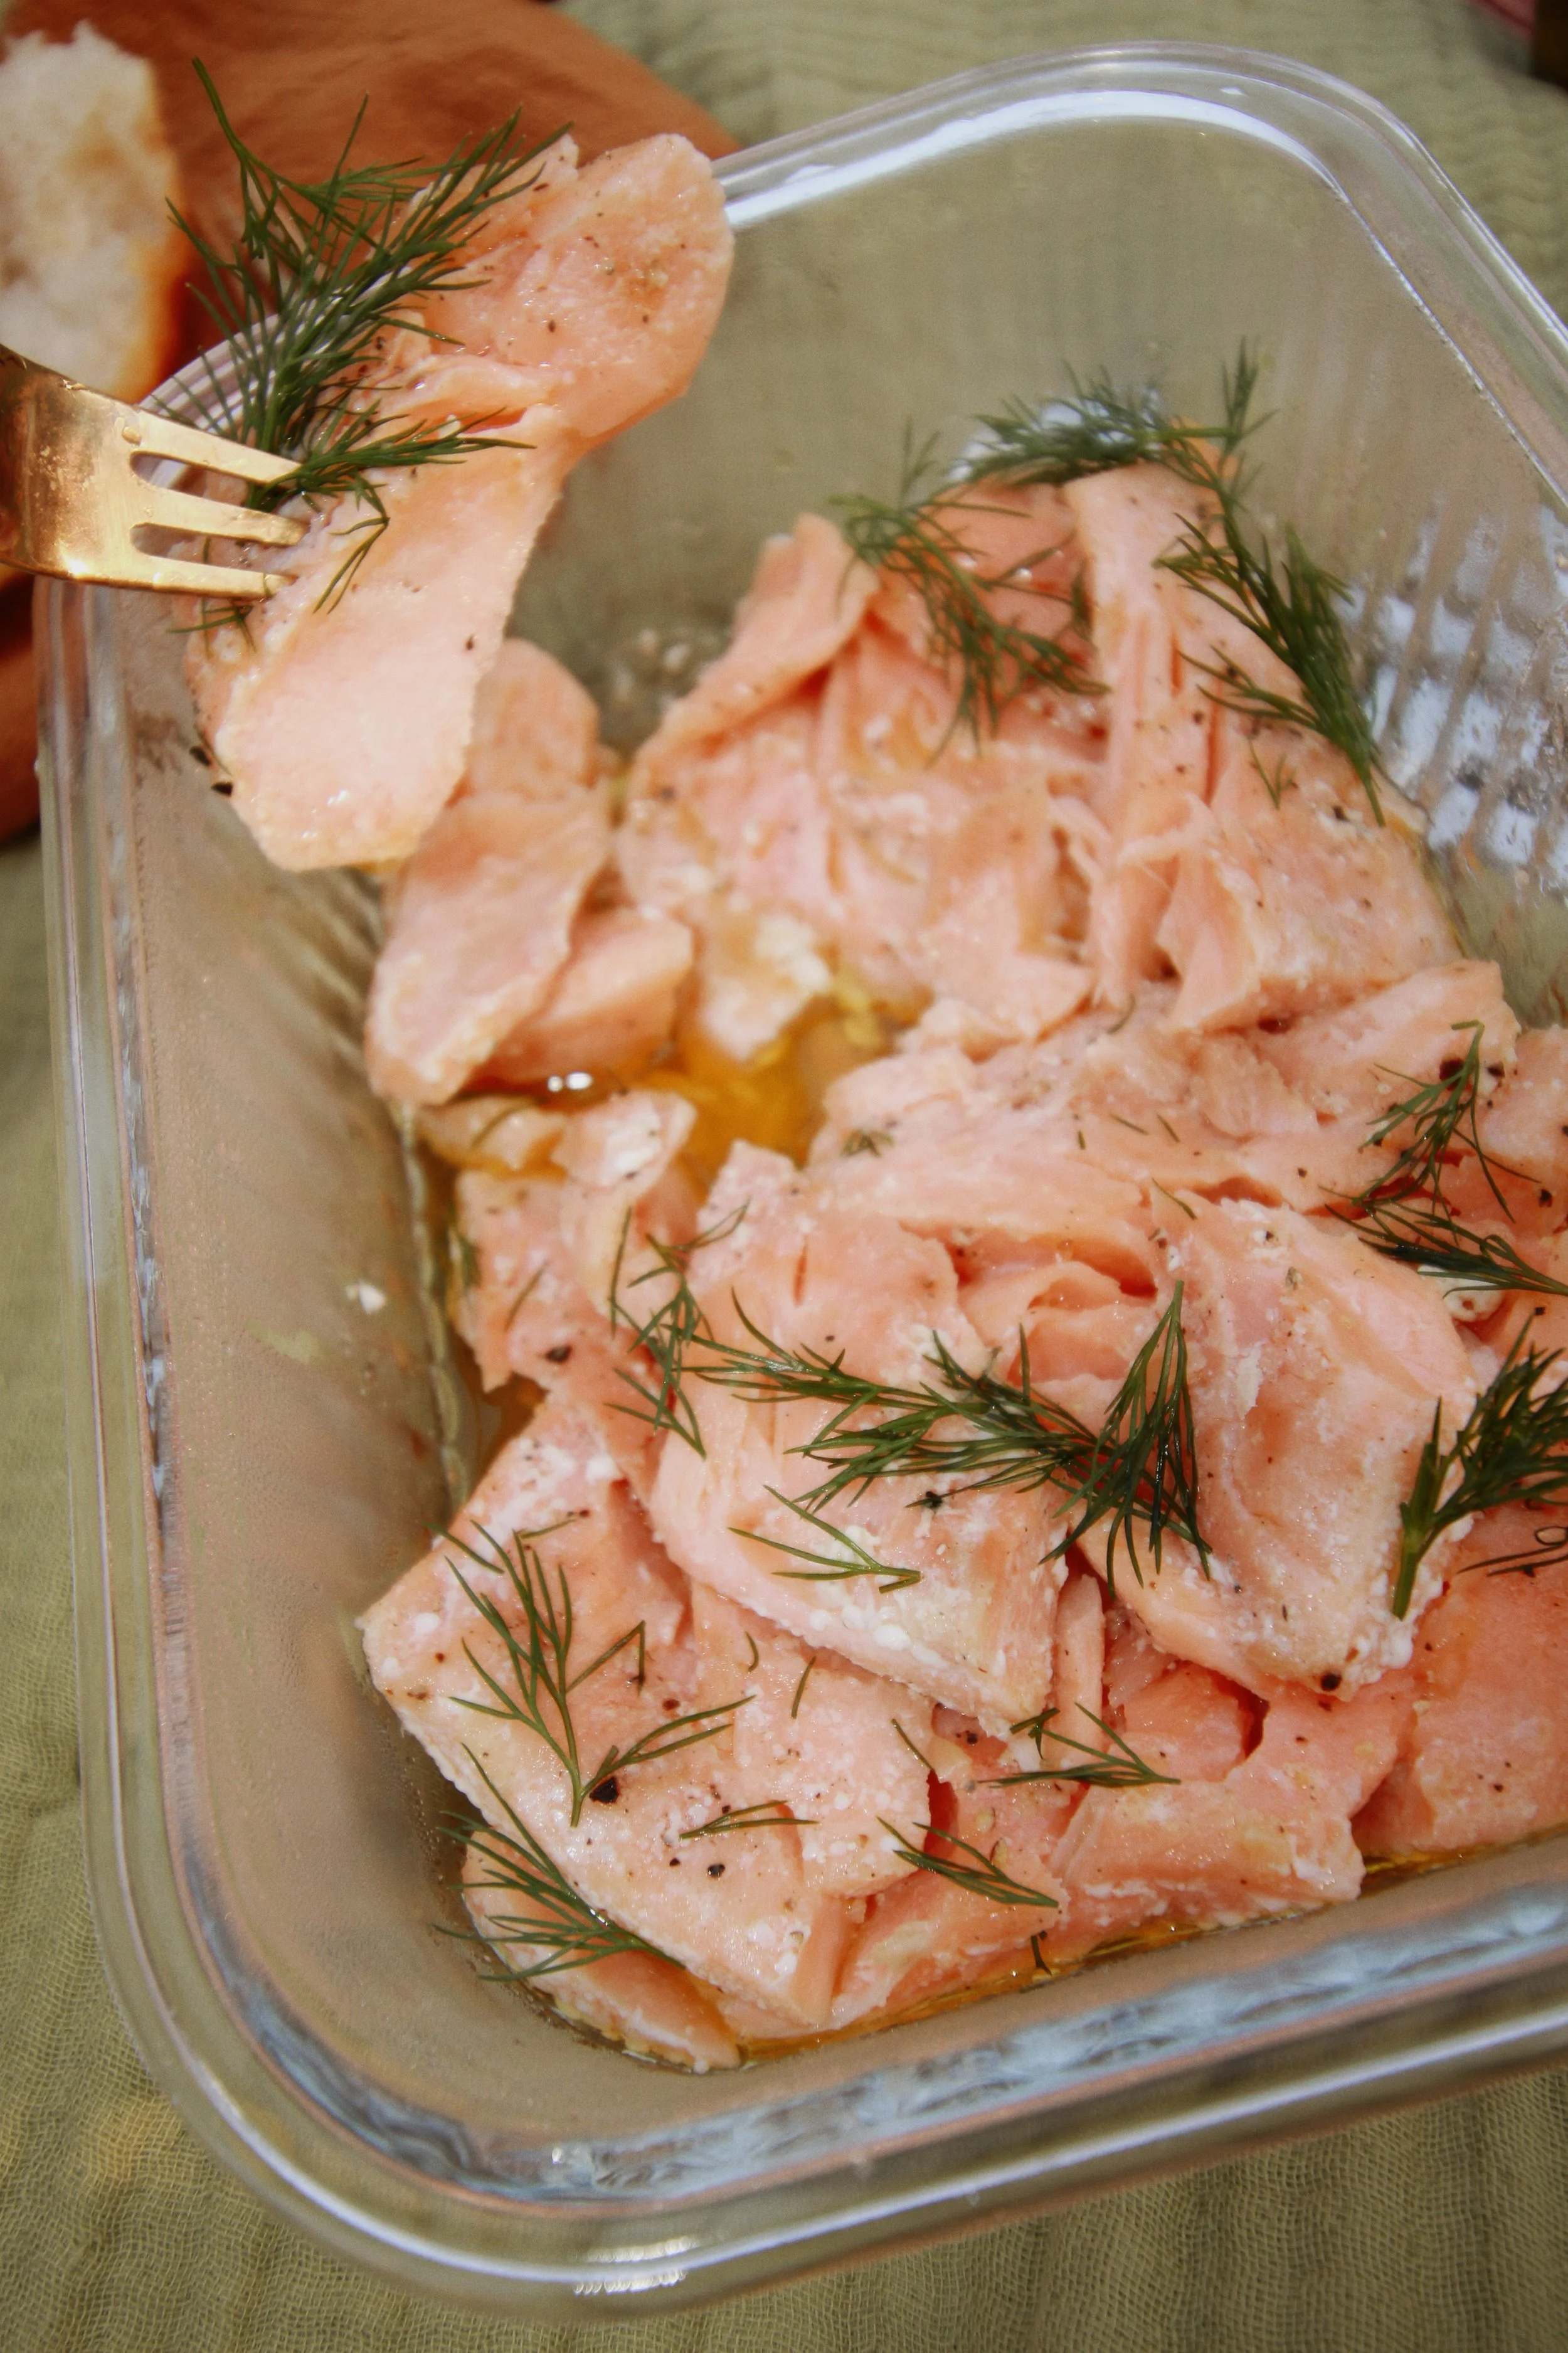
For this recipe I really recommend that you use high quality ingredients. The is a very simple dish, which allows all of the flavors to really come through. This means that if you’re using terrible olive oil, you’ll know. For salmon, just shoot for the freshest option. For me, that’s the local seafood counter.
The first step is salting your salmon filets at least 30 minutes prior to cooking. Sprinkle them on all sides with kosher salt and set aside until ready to use.
Preheat your oven to 225 degrees.
Once your oven is preheated, place your filets in a deep baking dish. If you choose one that perfectly fits the amount of filets you’re using you’ll use less olive oil. It’s okay for the filets to touch, but they should not overlap. Once you have them arranged, add a few sprigs of herbs, garlic, and a couple slices or peels of lemon. Pour over the olive oil until everything is just covered by it.
Bake for 20 minutes. If your filets are on the thicker side, they may need a few more minutes. Just use a fork to check if they are cooked through. When they’re ready, they will flake easily.
Store everything together. Remove any stems or peels if you prefer before serving.
Notes:
If you need to remove the skin, that’s relatively easy. Lay the fish skin side down on a cutting board. Take a very sharp knife and slice as close to the skin as possible while your other hand rests on top of the fish to hold it in place. If you leave a little skin behind you can flip the filet over and trim the rest off.
Dressed Heirloom Tomatoes:
3-4 heirloom tomatoes
Fresh basil
EVOO
Vinegar of choice (see notes)
1 tbsp fish sauce (more if you like)
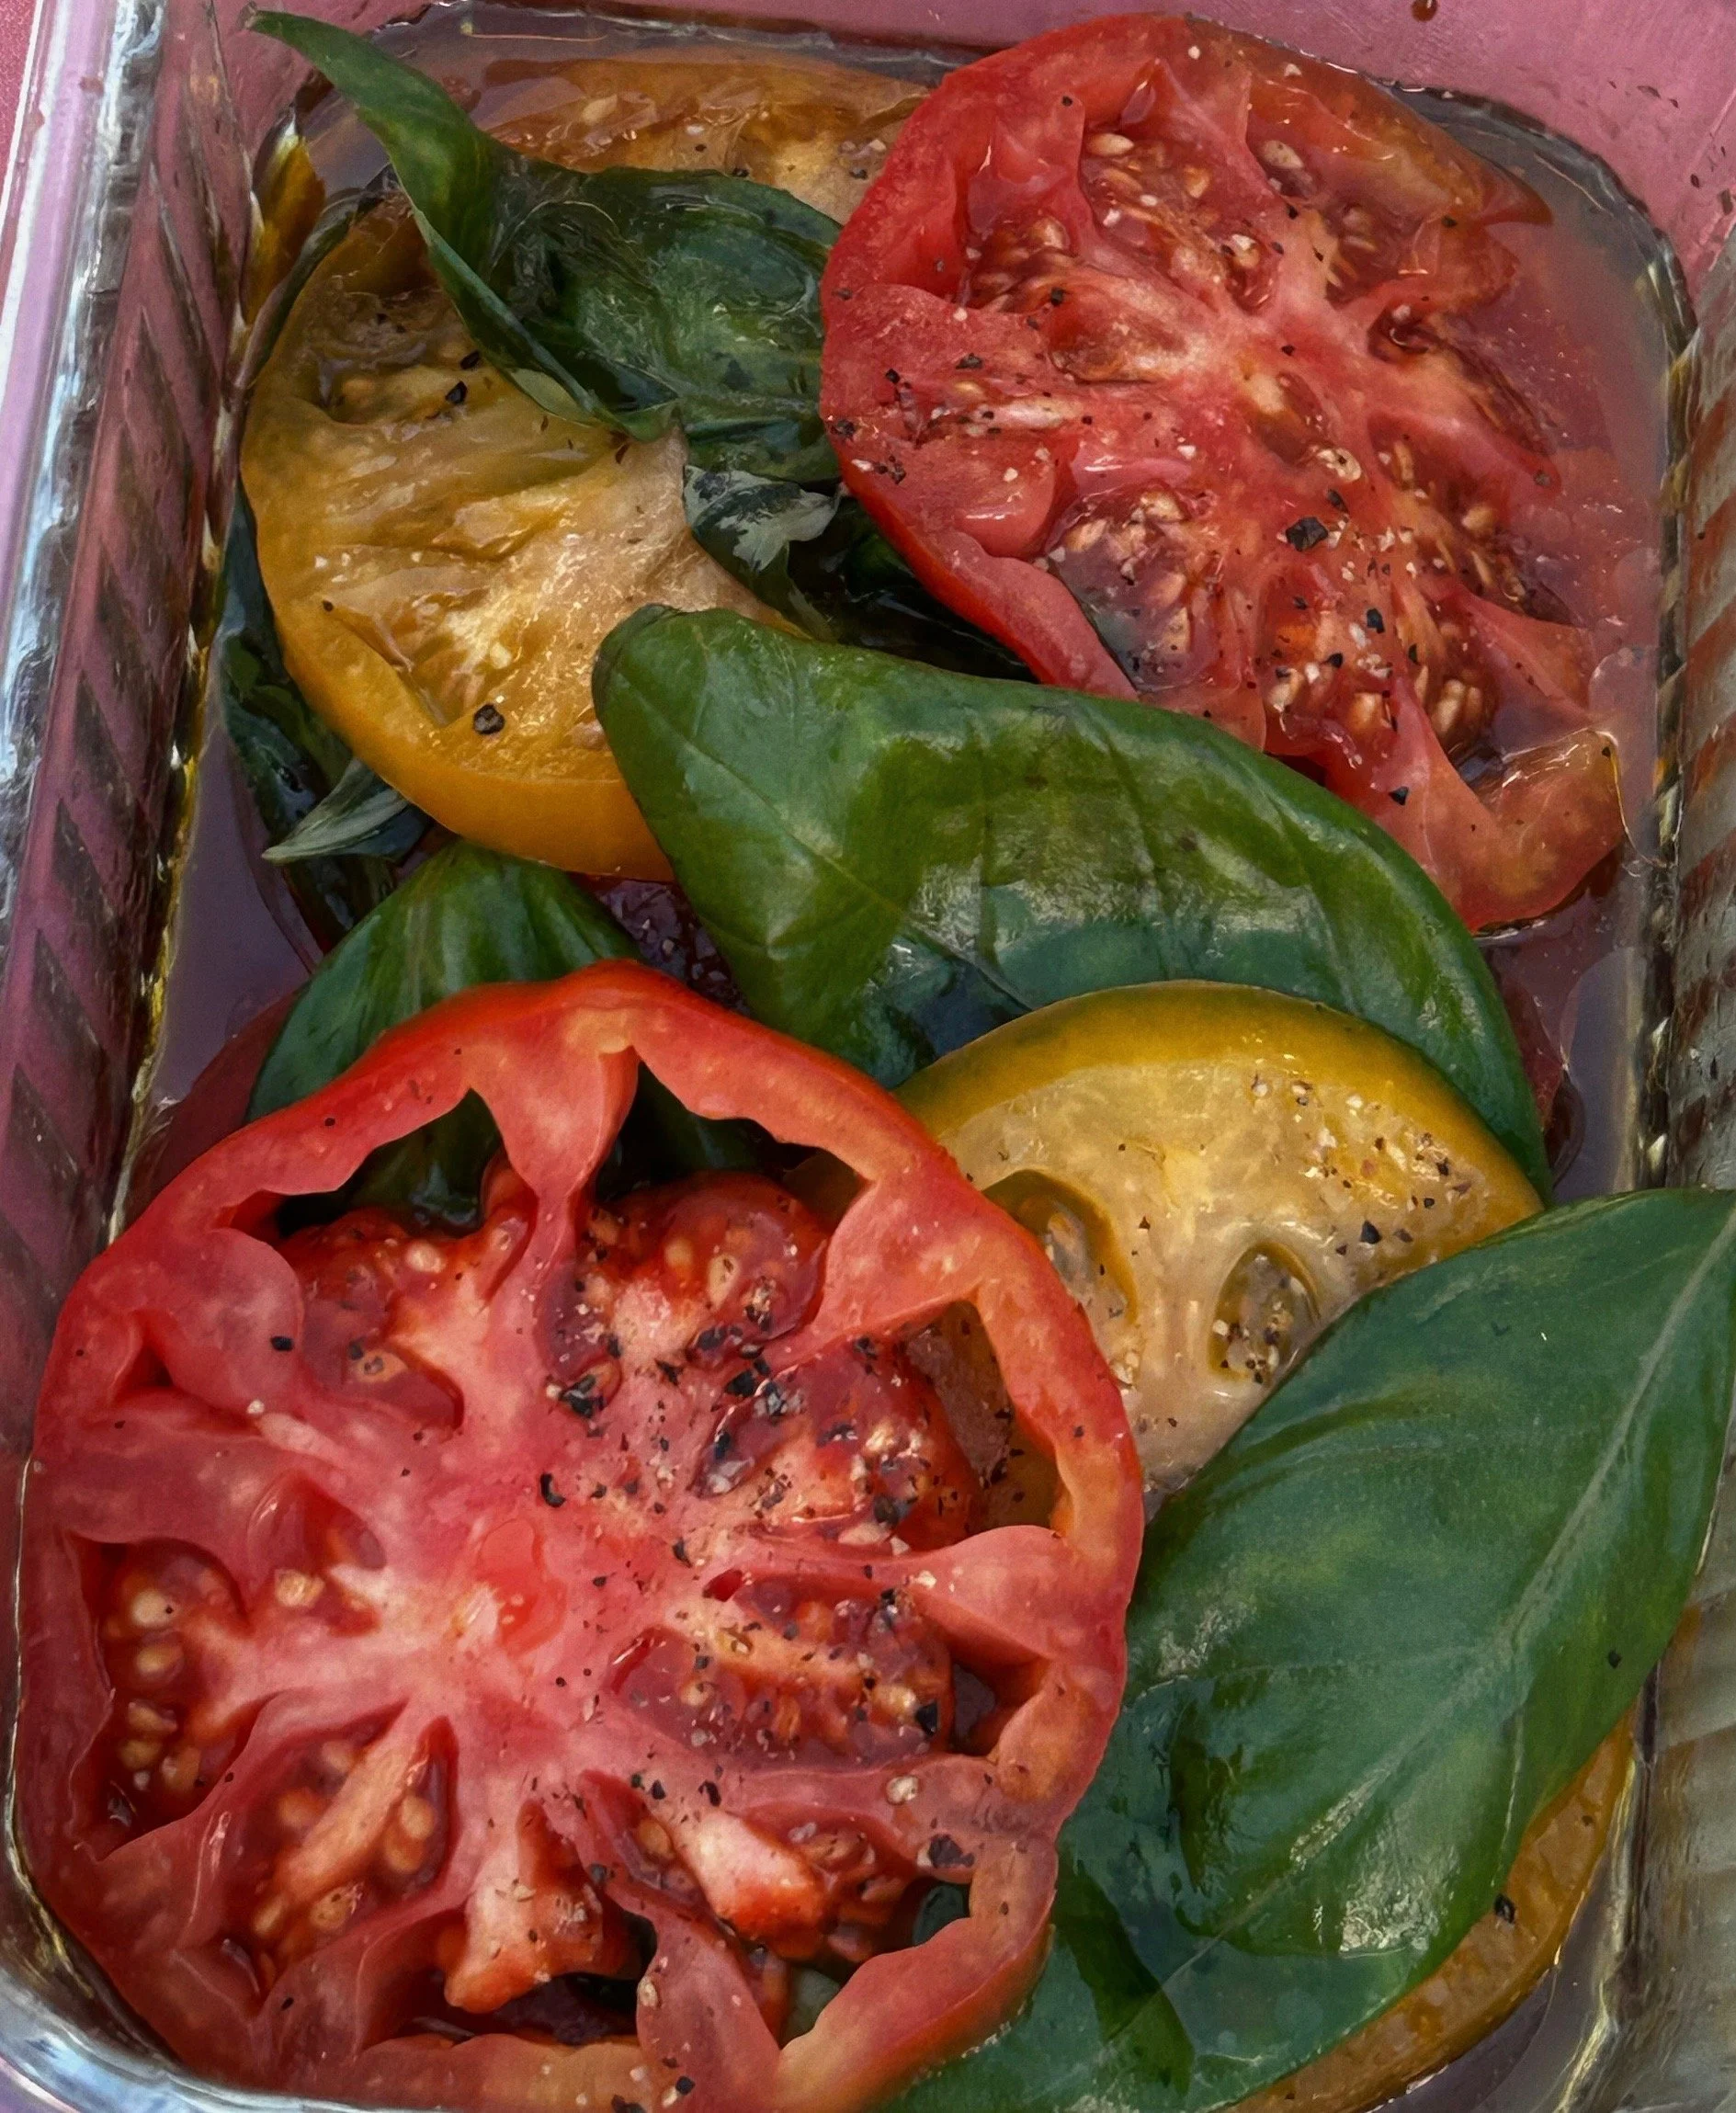
This dish is quick, painless, and accommodating of many modifications. Essentially, it’s just sliced tomatoes loaded with whatever tangy, umami deliciousness that you have on hand.
There are really only two steps to this recipe. The first is to slice some very perfect, fresh heirloom tomatoes to your preferred thickness and lay them out nicely on a plate or in a dish with fresh basil leaves layered in between.
Now you’ll drench them in olive oil, vinegar, and fish sauce before sprinkling with sea salt and freshly cracked pepper.
Notes:
I’ve used probably every vinegar under the sun for this recipe and they all work. White wine vinegar or apple cider vinegar are a safe bet, but balsamic vinegar is super yummy with the basil. Rice vinegar is what I use most often, so it truly is up to you and what you like best.
Focaccia:

3 cups King Arthur AP Flour
1.5 tbsp kosher salt
1 tsp sugar
1 tsp instant yeast
1 ¼ cups warm water
1.5 tbsp evoo
As a sourdough hater, focaccia is the only bread that I don’t dread making. It’s straight forward and takes well to slight mishaps. No shade to the sourdough community. I get it, it’s delicious, but bread making is not how I prefer to spend my precious time.
Measure out your flour by spooning it into the measuring cup and then leveling it with a knife or whatever you have on hand that’s flat. In a large mixing bowl, whisk the flour with the salt, sugar, and yeast.
Add in the water and olive oil and mix until thoroughly combined. You may use your hands, a dough scraper, a rubber spatula, or a combination of these. You’ll know it’s mixed well when there are no dry patches or large lumps. The dough will be sticky, that’s normal. Cover the bowl with plastic wrap or a damp towel and rest for 15 minutes in a warm area. I usually have my oven on and sit the dough near it to rest, but as long as it’s away from a/c or fan airflow and it isn’t below 68 degrees in your house (if it is, what are you, a corpse?) then it’s probably fine.
After 15 minutes, you’re going to do the first of four folds. Make sure your hands are wet for each fold or you will regret it. Working around the edges, grab part of the dough with one hand and stretch upwards before pressing it into the center of the dough. Do this in sections around the entire ball of dough, grabbing a new section each time. When you’re finished folding, flip the dough over and cover again for 15 minutes. You’re going to perform this fold three more times.
Repeat the same fold from step three and cover for another 15 minutes.
Now do the same for the third time resting again for 15 minutes.
Fold again for the fourth and final time. By now your dough should be pretty strong. Cover the dough again and let rise for one hour.
After an hour, the dough should have doubled in size. Now you’re going to oil your baking pan. It’s my opinion that you should always use a metal pan for focaccia. Metal conducts heat better and helps to really crisp the bottom and edges. A glass pan will do, but don’t look at me if your focaccia has a soft bottom, okay? You want a pan size of 9x9 inches minimum. I frequently use a 9x13 so that is what I recommend to you. Now, oil that pan down with olive oil on all sides and in the corners.
Once your pan is oiled, VERY gently roll the dough from the bowl into the pan and then flip it over so that it’s entirely coated in oil. Gentleness is key or you’re going to deflate all of those beautiful bubbles and then you will be sad. Cover the pan with plastic wrap or your damp towel again and let it rise one last time for 1-2 hours.
Preheat your oven to 475 degrees. Uncover your dough and coat your fingers in olive oil. Gently press your fingertips into the dough, all the way to the bottom of the pan (but without breaking through the dough), repeating this all over and keeping the dimples about an inch apart. Be gentle but not afraid — you want to dimple the dough without deflating it. It should only take about 4 impressions if using both hands at the same time.
Drizzle the dough with a couple tablespoons of olive oil and sprinkle on some sea salt. Feel free to add fresh black pepper, herbs, or chili crisp (highly recommend) at this point.
Bake on the lower rack of your oven for 18-20 minutes. The tallest bubbles should be browned and the entire loaf should be golden when finished. Everyone’s oven is different so if you need to leave it in a couple minutes longer that’s entirely acceptable.
Spatchcock Roast Chicken:
1 whole chicken
Kosher salt (1 tsp per pound of chicken)
Light brown sugar (equal to salt measurement)
3-4 sprigs fresh thyme
1 lemon
1 tsp oregano
1 tsp garlic powder
Black pepper to taste (lots)
3 (ish) tbsp olive oil
I have a lot of opinions when it comes to chicken, but I’ll spare you most of them. For this recipe, I use a whole young chicken. You can buy them already spatchcocked, but I will tell you how to do it yourself in the notes just in case you can’t find one. You’re also welcome to use chicken pieces if you’d like, just make sure they’re skin on. Whatever you do, if your bank account allows it, spring for the organic hormone-free and preferably air-chilled chicken. Trust me, you can tell the difference. The reason for spatchcocking said chicken, if you’re wondering, is to cut down on the cooking time which in turn helps to keep your chicken moist all over.
One other thing before we get into this recipe: I have included spice measurements, but I firmly believe you should be seasoning with your heart. It’s fairly difficult to overseason a chicken, as long as you don’t go overboard on the salt.
Make your dry brine by mixing together the kosher salt, brown sugar, and thyme leaves in a small bowl. Rub the mixture very thoroughly onto your prepared chicken, getting in all the nooks and crevices. Place the chicken on a rimmed dish or tray and let it brine in the fridge uncovered for at least 4 hours, but preferably overnight if you really care about this chicken.
After your chicken has brined, take it out of the fridge and let it come to room temperature for about an hour.
Preheat your oven to 450 degrees.
Use paper towels to pat your chicken dry. This helps the skin become crispy in the oven. Finish seasoning your chicken with the black pepper, lemon zest, dried oregano, and garlic powder. Gently massage the seasonings in to make sure everything is evenly coated.
Slice the zested lemon and place the slices and any leftover thyme on a clean rimmed baking sheet. Place the chicken on top of your aromatics and drizzle generously with olive oil.
Roast the chicken until the internal temperature reads 160 degrees when you insert a thermometer into the thickest part of the breast or thigh, roughly 45 minutes. An alternative method to a thermometer that has never failed me is to take a knife and cut at the leg joint. If the juices run clear, the chicken is done cooking.
Let your chicken rest undisturbed for 15 minutes before carving.
Notes:
So, if you bought a whole chicken, here’s what you’re going to do: first, take out the little bag of innards inside. Most of you will throw this away, but it can be used for stews or at the very least, your pet would probably enjoy it. Now, lay the chicken on a sturdy cutting board breast down, spine up. Using kitchen shears, cut lengthwise down both sides of the backbone through the ribs. Remove the spine and flip it over. Pull the now separated pieces out toward the sides and place your palms on top of the chicken between the breasts. Confidently and with force, press down until you hear and feel the cartilage crack and the chicken flattens out. If it doesn’t on your first try, keep trying. You can do it.
Honey Mustard Vinaigrette:
1 tbsp honey
2 tsp dijon mustard
¼ c EVOO
¼ c white wine vinegar
Salt + pepper to taste
If you’re anything like me, you’ve been avoiding making dressing your entire life. It dirties up too many dishes and is usually too much work when a good splash of oil and vinegar will do the trick. Well, this recipe is for us lazy people. All you need is the ingredients above and a container with a tight fighting lid. I use a jam jar. Just place everything in the jar, salt and pepper to taste, and give it a good shake for about 15 seconds. I usually taste test and adjust at this point. It might need a little more honey for sweetness or a little more mustard, but I promise you’ll know when it’s right. It goes on literally everything: chicken, fish, veggies, salad. It’s maybe my best hack.
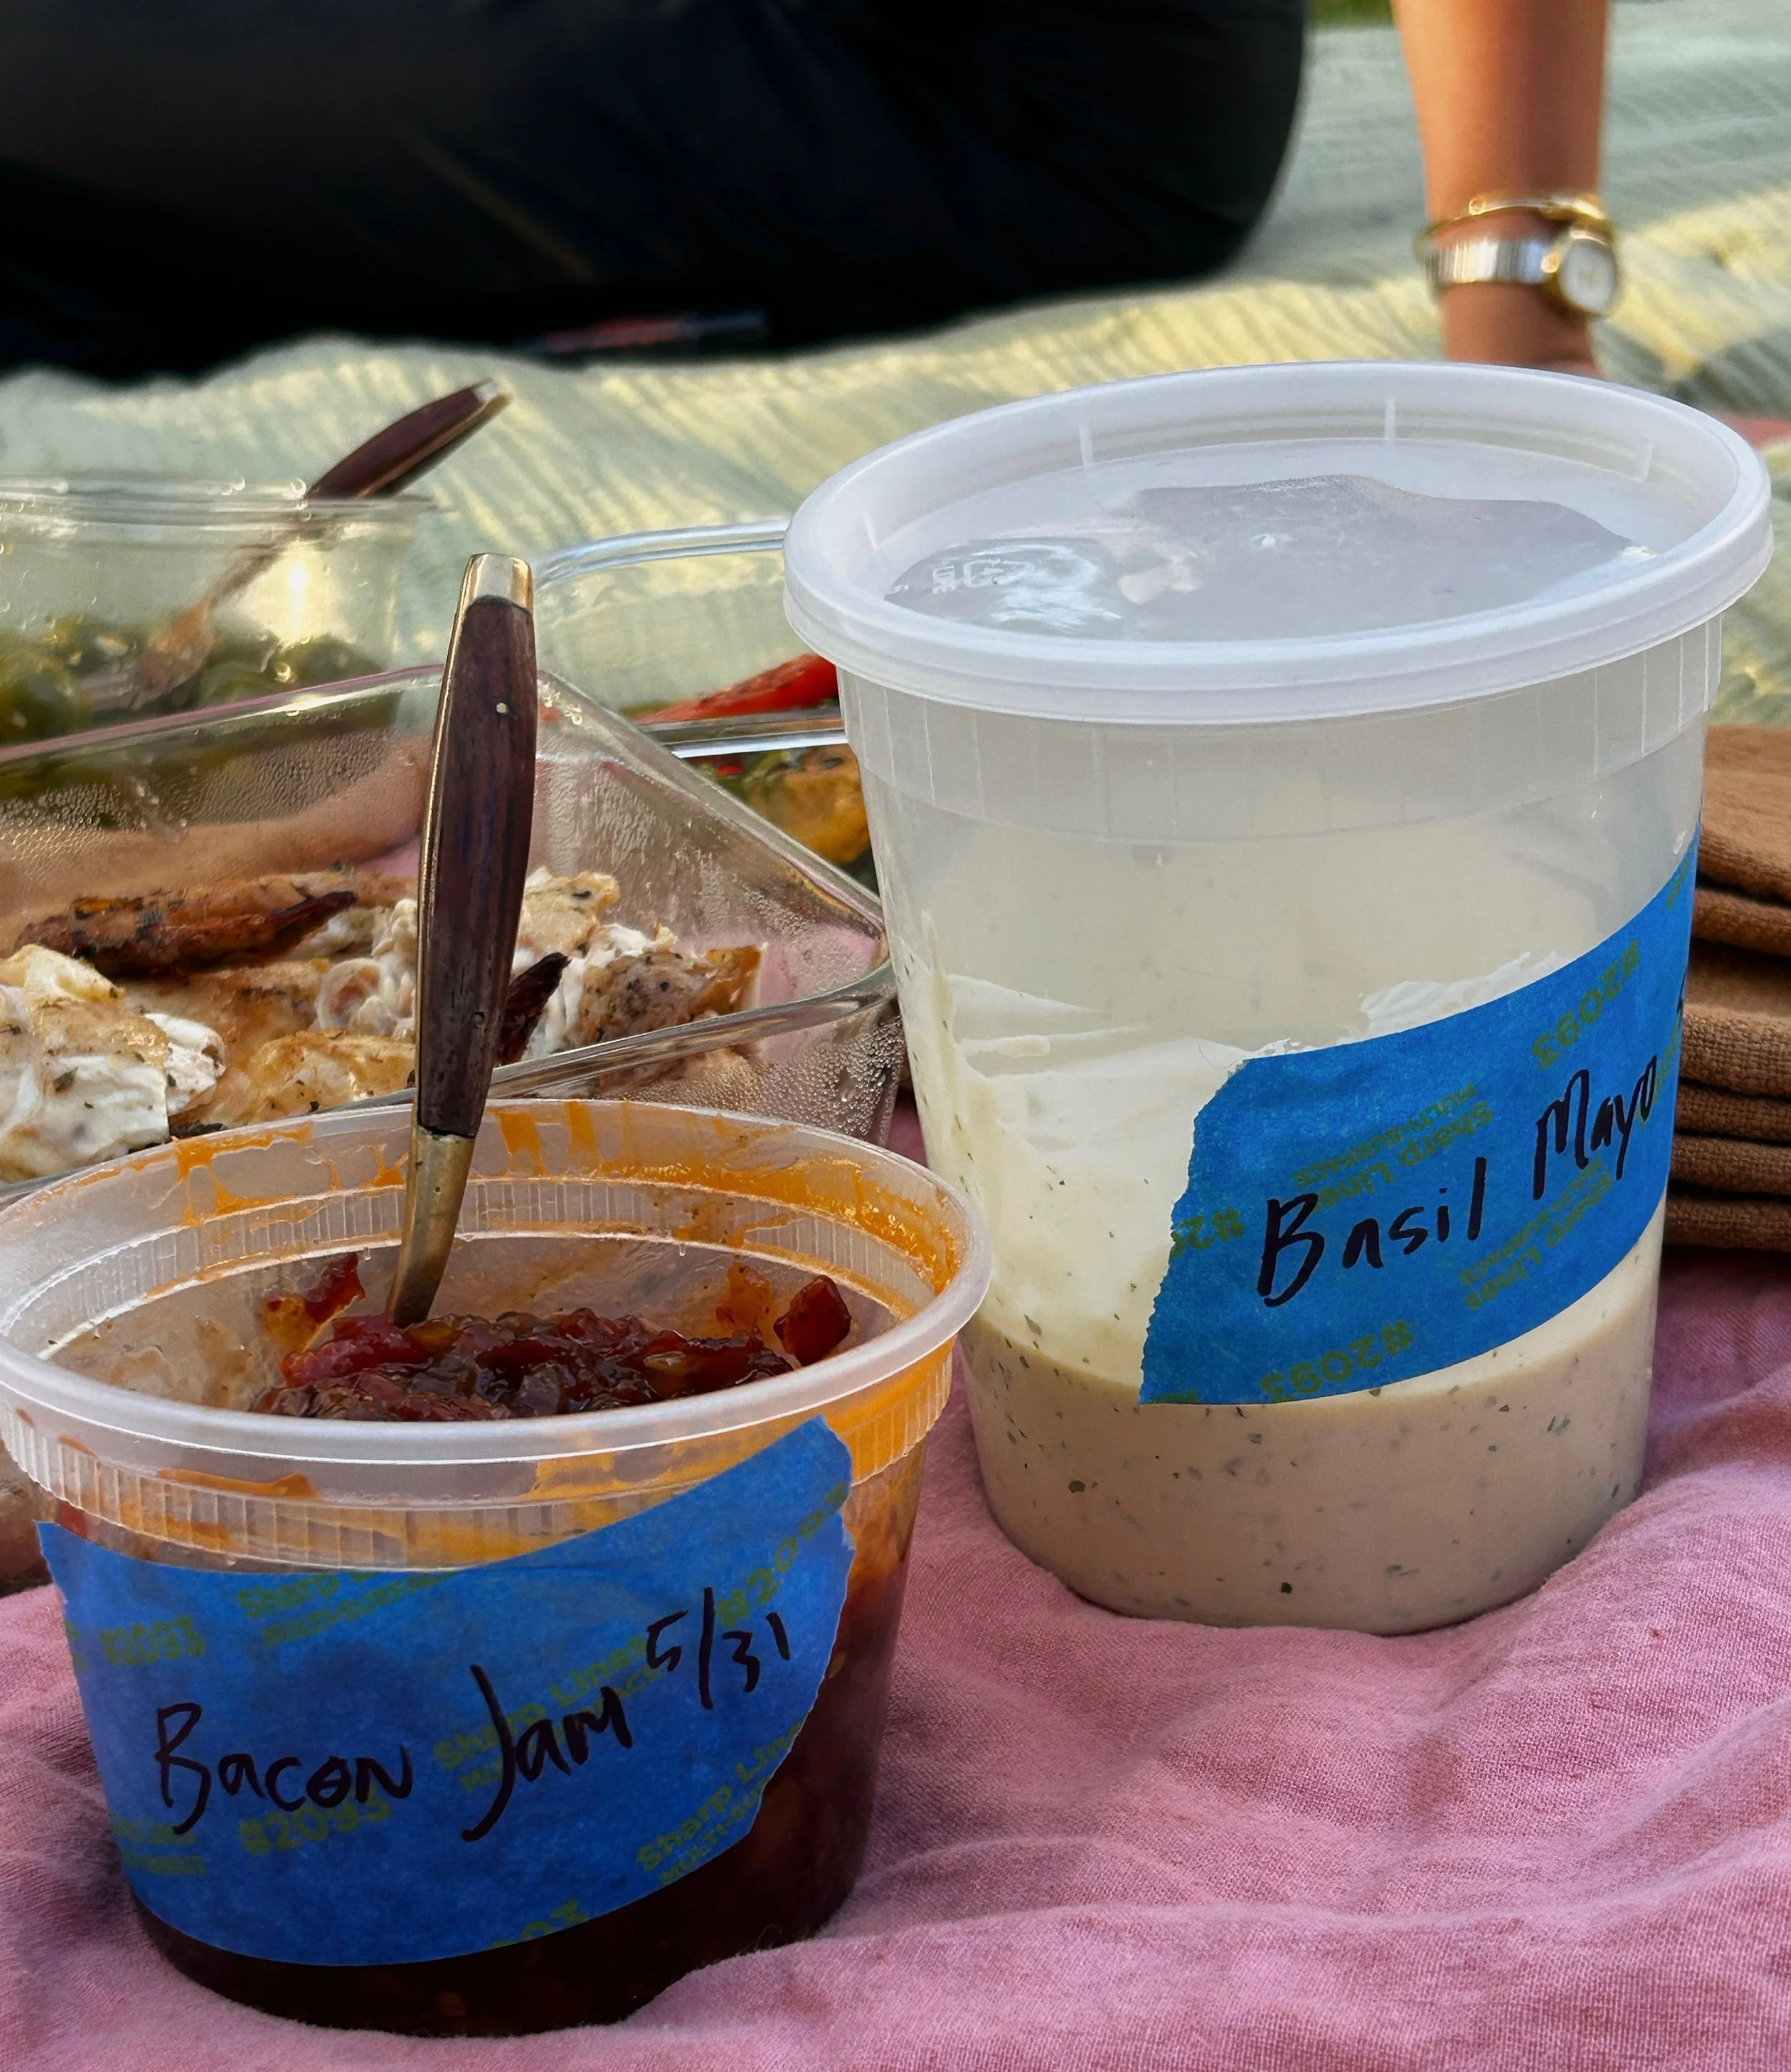
Tomato Bacon Jam:
¼ lb bacon (chopped)
½ yellow onion
2 garlic cloves (minced)
¼ cup maple syrup
6 tbsp balsamic vinegar
1 tbsp dijon mustard
½ tbsp worcestershire sauce
1 cup diced tomatoes
2 tbsp brown sugar
In a saucepan, cook bacon over medium heat until browned. Drain extra grease and set bacon aside.
In the same pan, add onions and cook until soft and translucent.
Add garlic to onions and cook for 30 seconds.
Add bacon back to the pan and add the remaining ingredients. Reduce heat to low and simmer uncovered until the mixture is reduced and thick. This should take about 40 minutes to an hour.

Basil Mayo:
½ c mayonnaise
4-5 fresh basil leaves
½ tbsp lemon juice
1 tsp honey
This recipe was very off the cuff and last minute, but was so well received that I thought I would include it here. A homemade mayo recipe is coming soon, but for this recipe you can use whatever store-bought mayo that you swear by. Just blitz everything together with an immersion blender or food processor. Give it a little taste, you might prefer more or less lemon or honey.
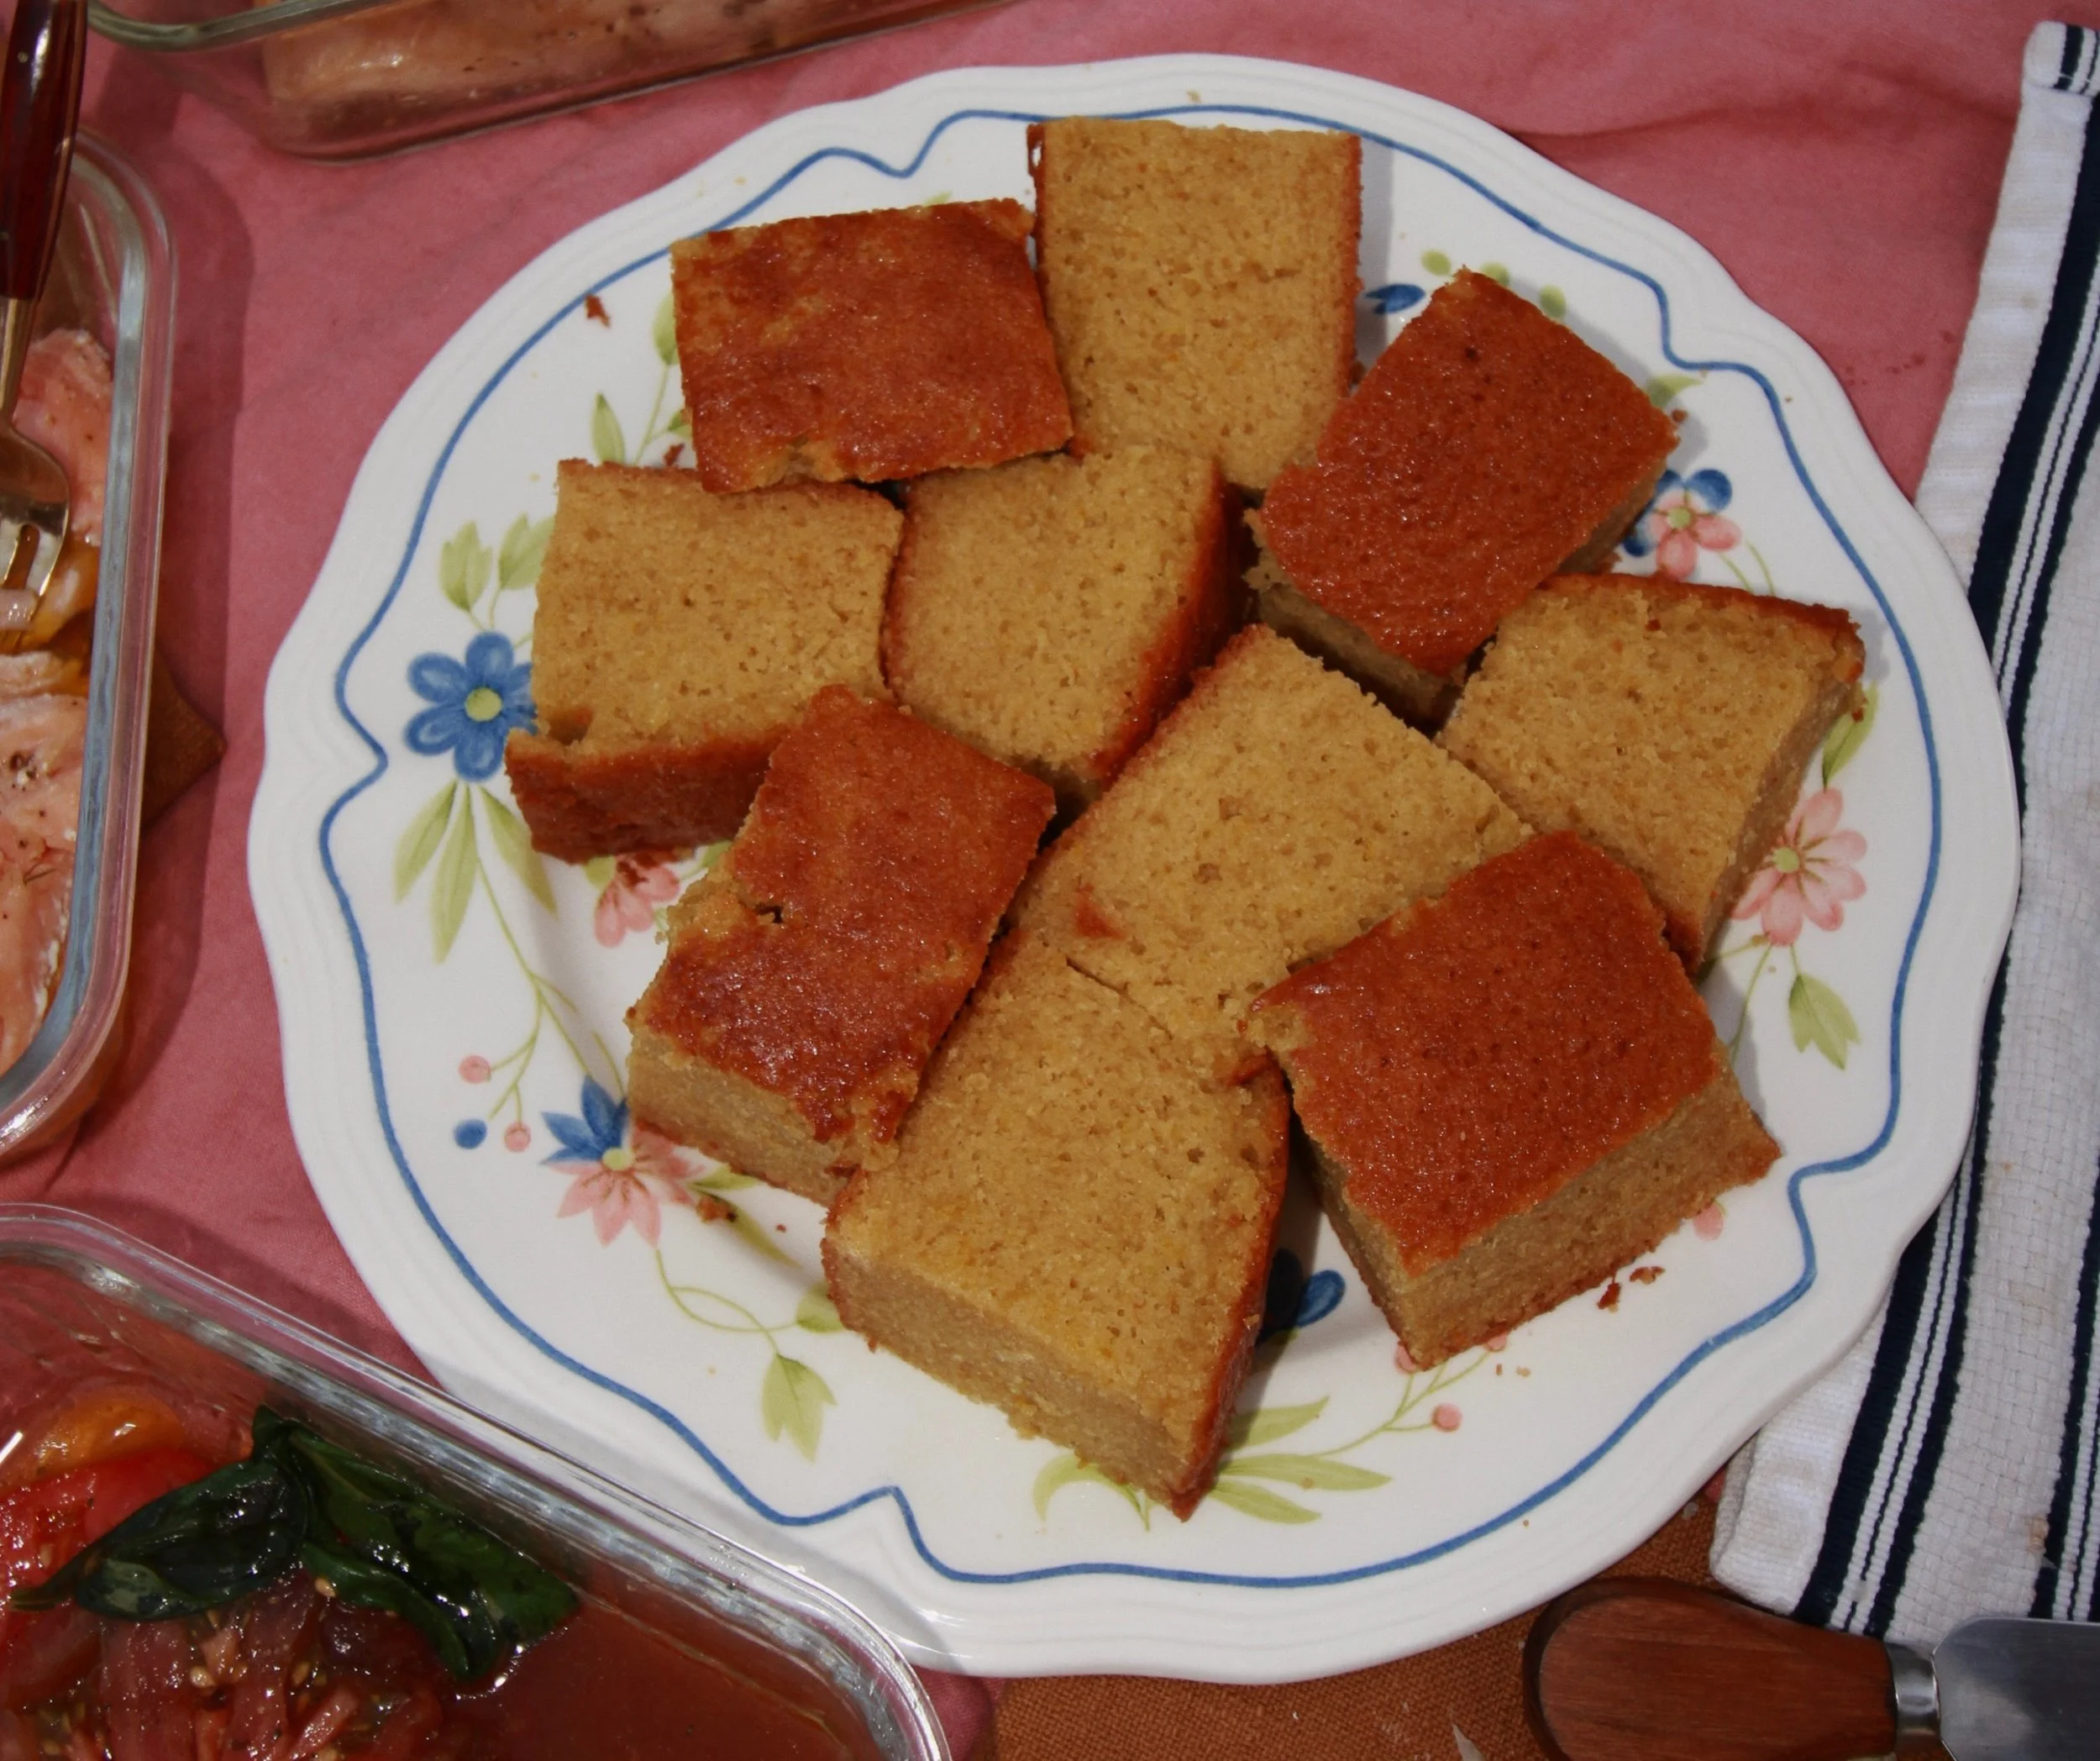
Lemon Olive Oil Cake:
3 whole eggs
1 ½ c white cane sugar
1 c EVOO
½ c fresh lemon juice
Zest from 3 whole lemons
2 tsp vanilla extract
1 c milk of choice
2 c all purpose unbleached flour
1 tsp table salt
½ tsp baking powder
½ tsp baking soda
Preheat your oven to 350 degrees
Grease a 9” cake pan (I use a spring form) very well with butter or oil
In a large mixing bowl, whisk together the eggs, sugar, olive oil, vanilla, lemon juice, and zest
In a separate bowl, sift the flour, baking soda, baking powder, and salt together. It is very important that you actually sift. It makes a huge difference in texture for this cake due to the amount of oil present.
Slowly add the dry ingredients to the wet ingredients a little at a time, alternating with the milk. For example, whisk a little of the flour mixture into the wet mixture then whisk in a little of the milk and so on until everything is blended together. Avoid over-mixing the batter.
Pour the batter into your prepared pan and bake for 55-65 minutes. Check the cake with a toothpick until it comes out clean. If your oven runs cooler than mine and you need to bake for longer, just keep an eye on the top. If it looks like it’s getting too brown, you can place a piece of foil over the top.
Let the cake cool completely before removing from the pan. Use a knife to loosen the edges if needed. Dust with powdered sugar before eating way too much cake with your hands